Guides
Post-renovation cleaning: the complete guide
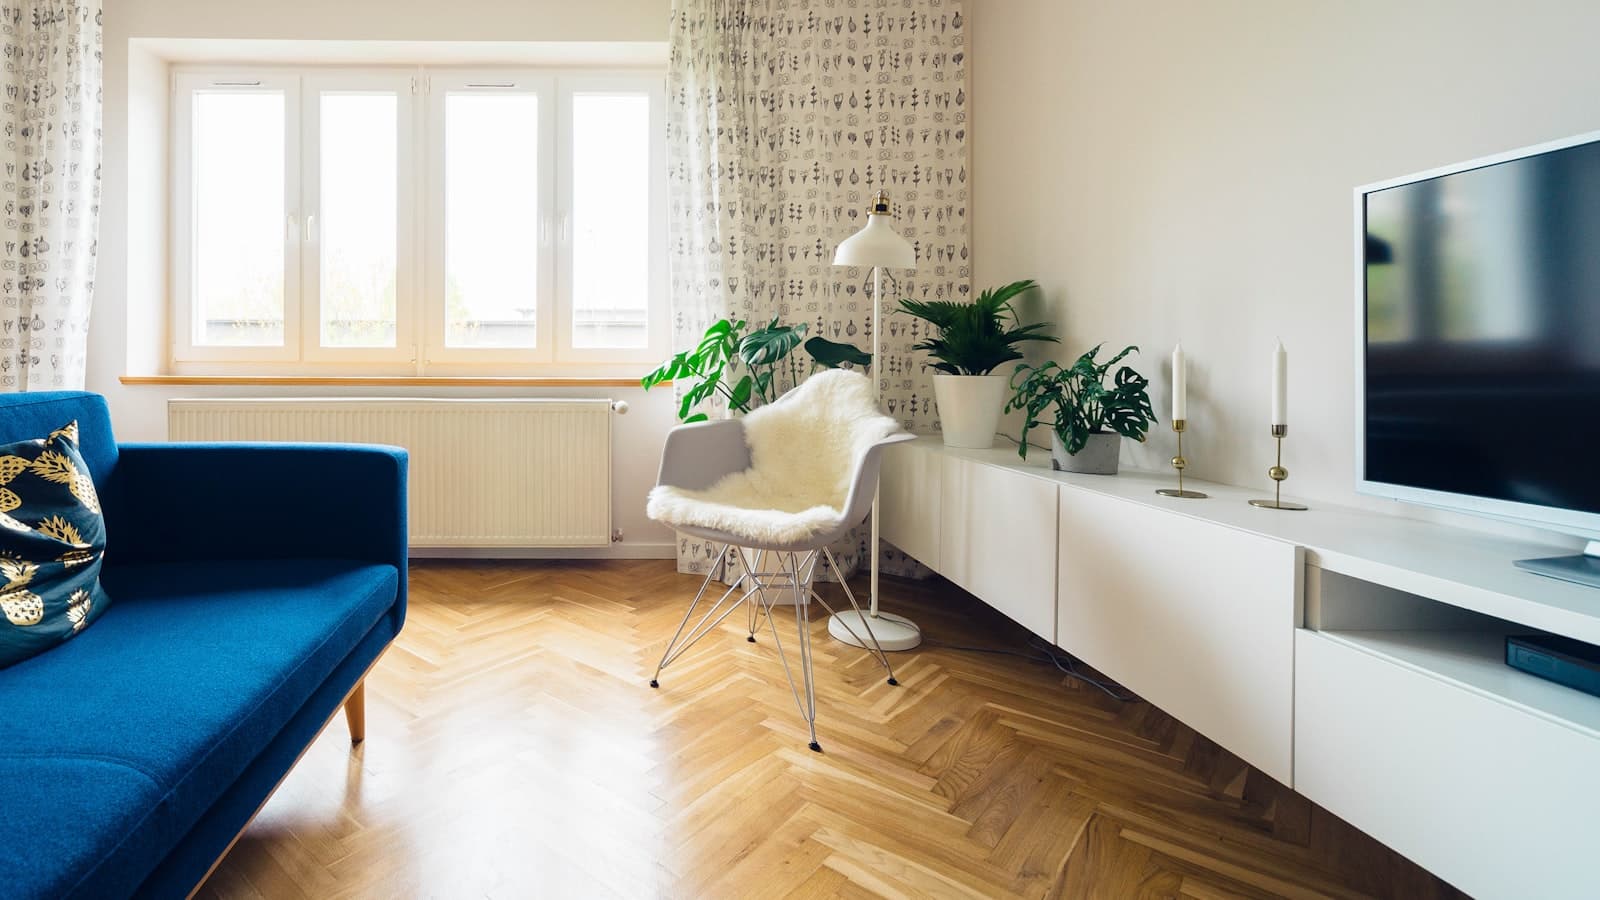
After a renovation, a fine layer of plaster, lime and cement dust settles into every corner. Regular cleaning is not enough — you need a systematic approach.
1. Top to bottom, again
Start with the ceiling, light fixtures and window sills. Construction dust lifts easily, so you will go over high surfaces more than once.
2. Vacuum before you wipe
Do not go straight to the mop. Fine dust must be vacuumed first, otherwise you turn it into mud on surfaces. Use a HEPA-filter vacuum for the fine particles.
3. Watch for adhesive and paint marks
Paint splatter, tape residue and adhesive take patience and the right products. A plastic scraper protects windows and tiles while you clean.
4. Don't forget what you can't see
- The inside of newly fitted cabinets and drawers
- Window ledges and frames
- Ventilation grilles and radiators
- The back and top of doors
5. The finishing touch
Finally, windows, mirrors and glossy surfaces, plus good ventilation. Only now does the space truly breathe clean.
Post-renovation cleaning is meticulous and time-consuming. If you would rather move straight into a spotless home, book a team that specializes in exactly this.